
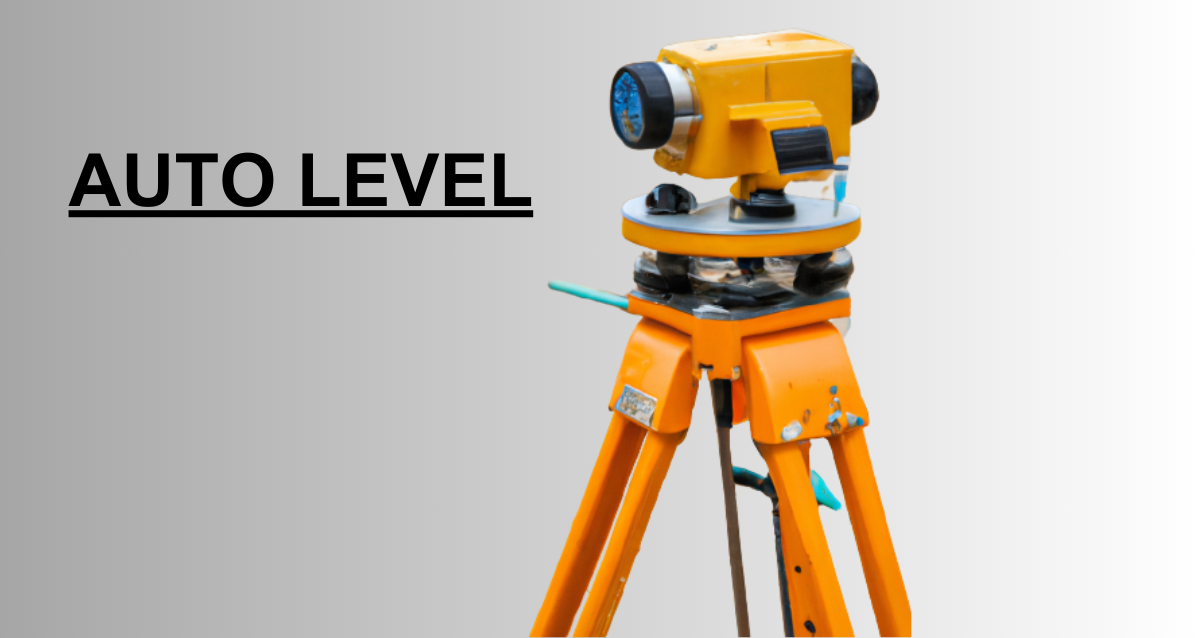
An optical device used to establish or check points in the same horizontal plane is called an automated level, builder’s auto level, leveling instrument, or dumpy level.
What is an Auto Level?
Auto Level is also known as an automatic level. It is a device used for all types of construction projects. This instrument has a variety of applications as it measures the height differences between the two points, setting benchmarks, and creating reference points for various works. It is simple and easy to use, making it prevalent among engineers.
What is the Principle of Auto Level?
It utilizes a compensator, an internal pendulum system, to ensure that the line of sight remains horizontal regardless of any external disturbances. The compensator automatically adjusts the line of sight of the telescope to ensure the line of sight remains parallel to the actual horizontal plane.
What are Auto Level and its parts?
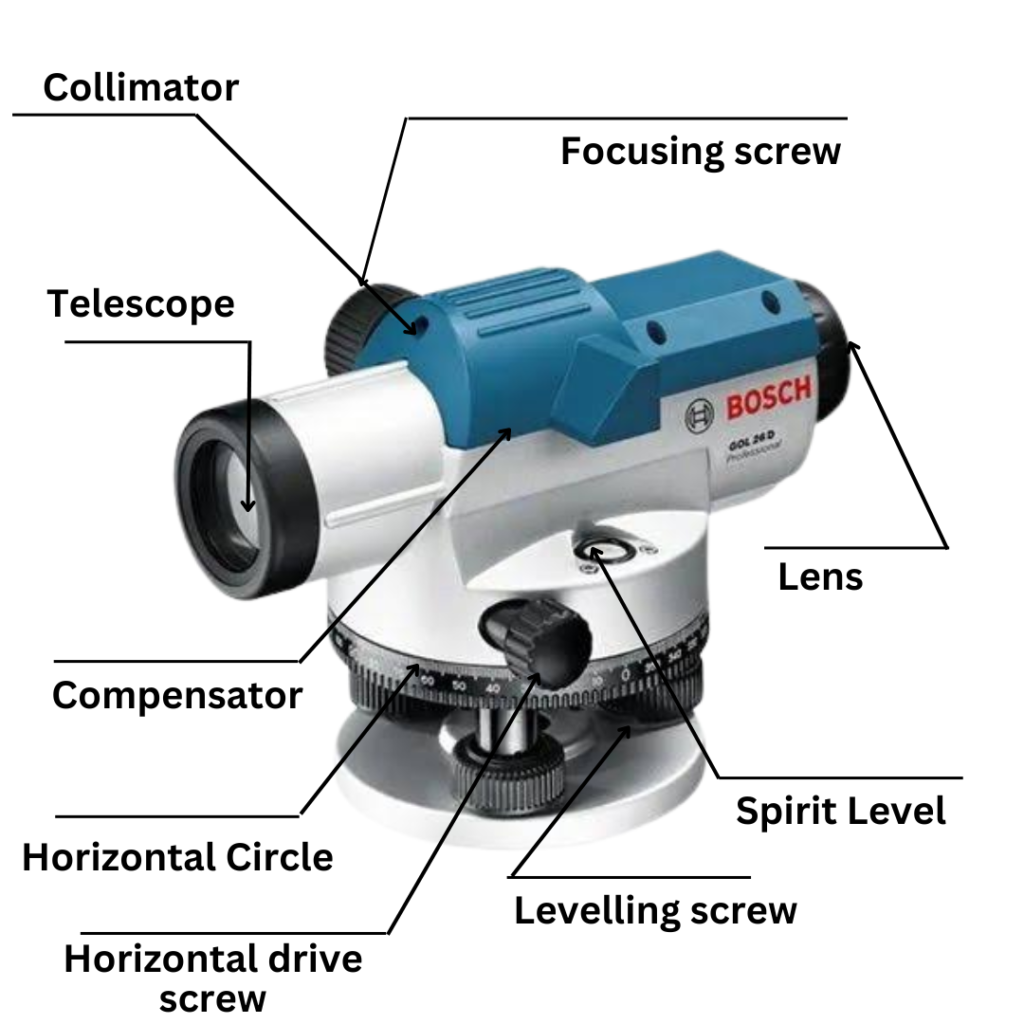
An Auto Level consists of several essential components that work together to deliver precise measurements:
1. Object Lens
This provides a clear view of the target area and allows the user to accurately sight the leveling staff.
2. Leveling Base
This is the foundation of the Auto Level and allows it to be set up on a stable surface.
3. Horizontal Circle
The horizontal circle helps in measuring angles and can be rotated to align with a reference point.
4. Eyepiece
This is used to magnify the crosshairs by rotating them in or out until the objective is visible.
5. Foot Screws
There are three-foot screws used to center the position of the bubble and ensure accurate leveling.
6. Bubble tube
This tube is circular and contains a liquid in it with a bubble. When the bubble is at the center, it determines the instrument is leveled.
7. Focusing Screw
It is used to form a fixed and clear image in the plane of crosshairs by rotating them in or out.
8. Tripod
The tripod stand consists of three legs with a metal conical shoe fitted at its bottom. It is used to hold the instrument on it.
What is the Auto Levelling method?
1. Setting up the instrument
To fit the instrument on the tripod stand open the clamp, the instrument is held in the right hand, and the level is attached to the tripod by rotating the bottom pan with the left hand. The tripod legs are splayed such that the instrument is at a comfortable height for the user.
2. Levelling up
After roughly leveling the instrument, it is then accurately leveled by using the three-foot screws in accordance with the plate levels. The leveling is done to make the axis of the telescope completely vertical.
3. Elimination of Parallax
When the image formed by the objective is not on the plane of the crosshairs, the condition is known as parallax. If parallax is eliminated, accurate sighting is possible. Parallax can be removed by two methods :
(i) by focusing on the eyepiece and
(ii) by focusing on the objective in the plane of crosshairs.
(i) by focusing on the eye-piece
To focus the eye-piece, point the telescope towards the sky (or hold a sheet of white paper in front of the objective) and move the eye-piece in or out till the cross-bars are seen sharp and distinct. In some telescopes. graduations are provided at the eye-piece so that one can always remember the particular graduation position to suit his eyes.
(ii) by focusing on the objective in the plane of crosshairs
The telescope is now directed toward the staff and the focusing screw is turned till the image appears clear and sharp.
Uses
Auto Levels find applications in various fields, including:
- The Excavation of earthwork, leveling, profiling, and foundation work is made possible with the accuracy of Auto Level.
- It is used in maintaining proper slopes during the excavation and grading of pavements. It also helps in providing suitable gradients and camber to ensure proper drainage to the roads.
- It is used to measure the NGL and EGL of the site to calculate the quantities of the earthwork.
- It is used to mark the required founding levels during the excavation of any structure.
- It has also been used to check the position of beams, columns, slabs, and other components of the structure.
Advantages
- It is simple and easy to use.
- The instrument setups quickly with the help of the three-foot screws and saves the time.
- Readings are directly seen on the staff with the help of the eyepiece.
- It gives accurate results.
- It is available at cheap prices.
Disadvantages
- Auto Level has a limited working range, making it less suitable for large-scale projects that require long-distance measurements.
- Adverse weather conditions, such as heavy rain or fog, can affect the accuracy of Auto Level readings.
- Auto Level instruments are delicate and require careful handling to prevent damage to their internal components.
- The readings obtained through Auto Level require manual calculations to get the Reduced levels (RL).
FAQs
Can Auto Level be used for measuring vertical distances?
No, Auto Level is primarily designed for measuring horizontal levels. To measure vertical distances, a separate instrument called a Total Station or a digital level is used.
How often should the Auto Level be calibrated?
It is recommended to calibrate the Auto Level annually or whenever there are significant changes in working conditions or if it undergoes any damage.
Are there waterproof Auto Levels for working in wet conditions?
Yes, there are waterproof and weather-resistant models available for working in challenging environments.
Are Auto Levels compatible with digital data collection systems?
Yes, many modern Auto Levels can be integrated with digital data collection devices for streamlined data recording.
Conclusion
Auto Level is a very useful tool in surveying and construction projects as it provides accurate and fast results. It is a need for experts in the buildings, bridges, and surveying sectors despite certain drawbacks, Since the benefits, they provide surpass any restrictions.
You can also read:
5 Best Types of Measuring Tapes For Engineers
Reinforced Cement Concrete Best Properties, Composition, Uses |Full Detail|
Also check Leica Auto Level
Also check Sokkia Auto Level
Also check Tripod Stand
Also check Levelling Staff

Thaznk you for sharing your thoughts. I really appreciate your efforts and
I am waiting for your further write ups thanks once again.
Here is my web page Prabowo Blak-blakan Tentang Perang